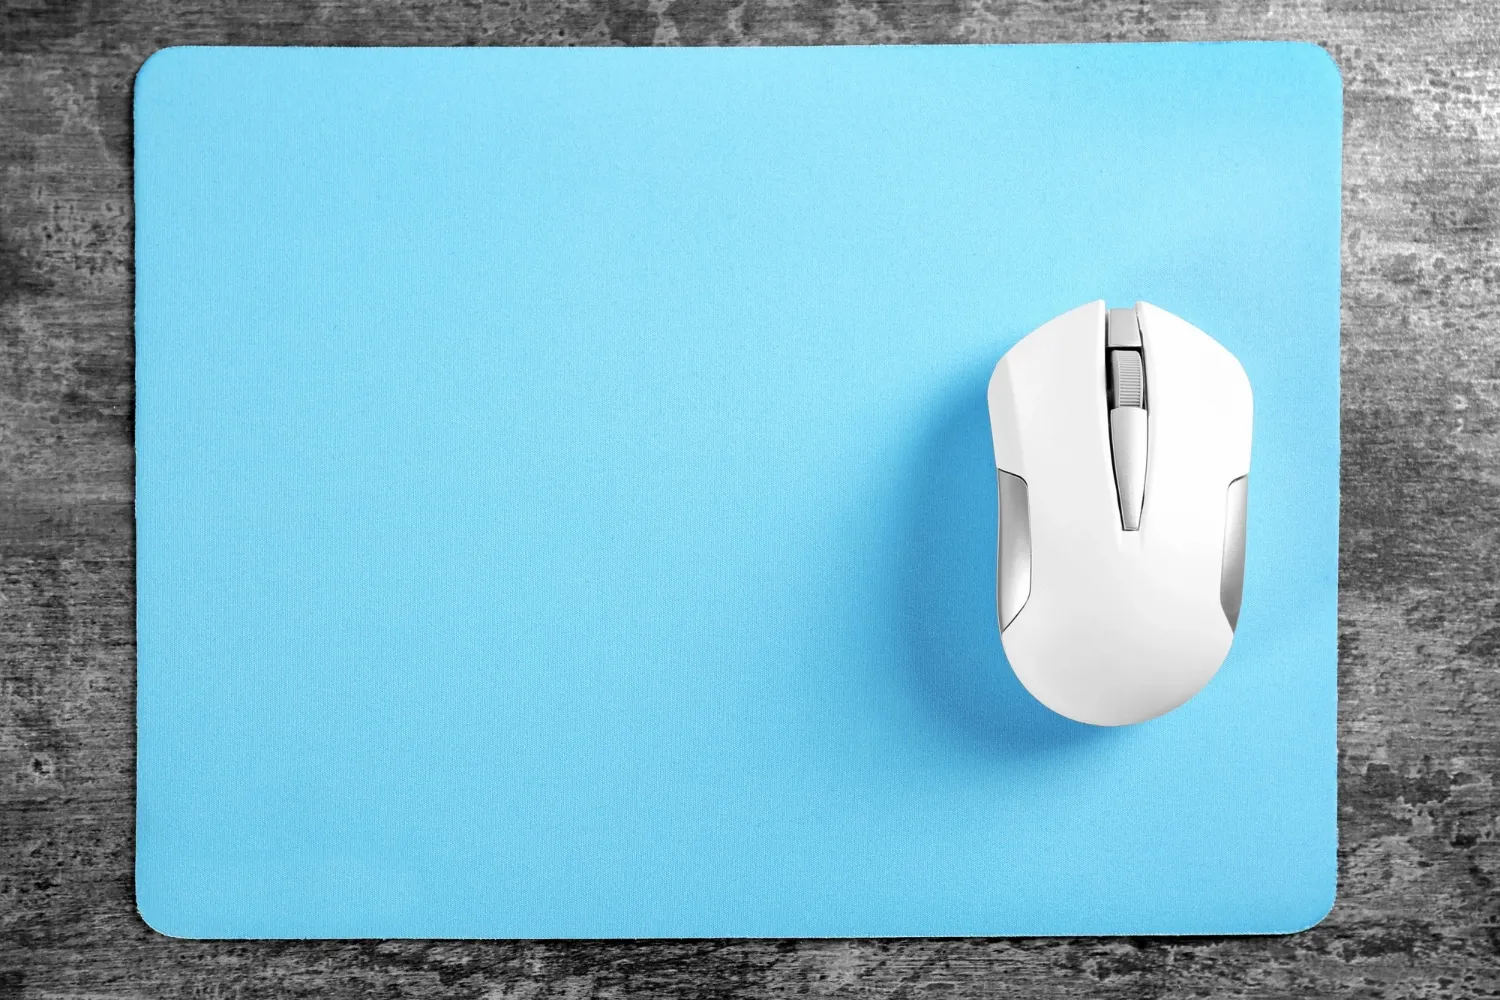
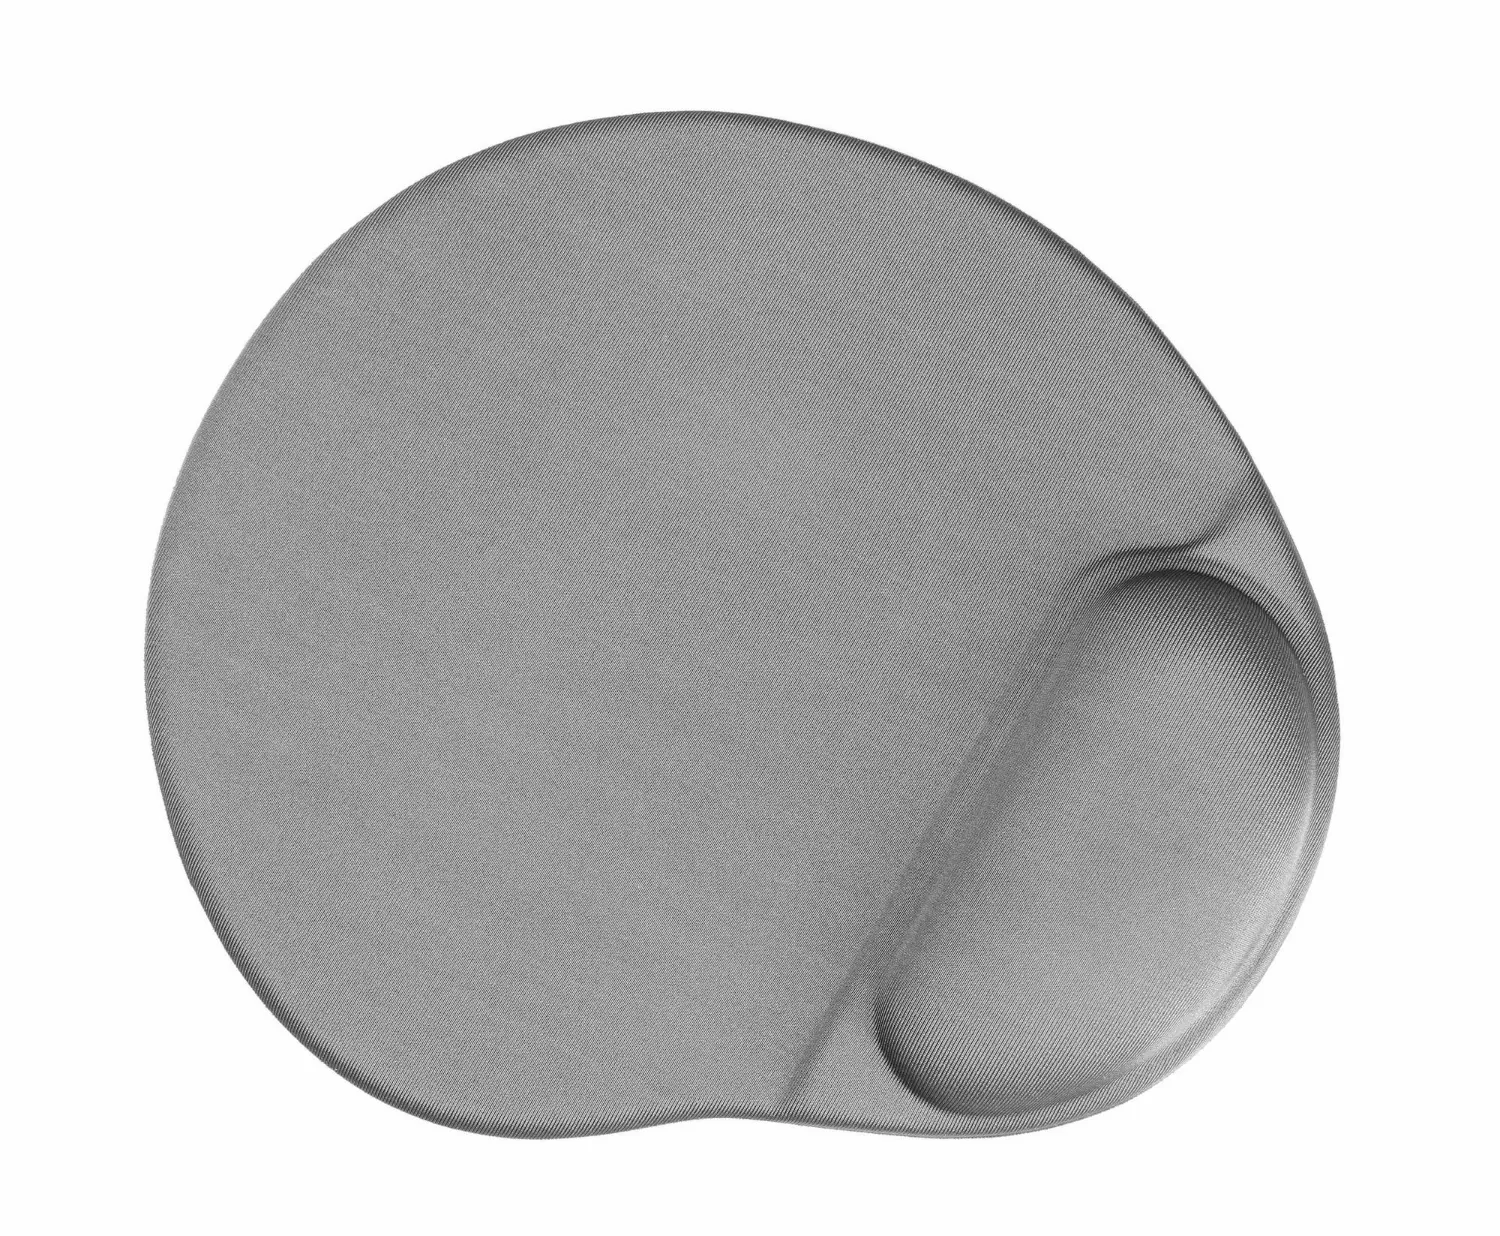
How Do You Make Your Own Gaming Mouse Pad?
Gaming is a super fun pastime. It’s also expensive. There’s the cost of the games themselves, the hardware, accessories, and all those in-game microtransactions, too! Well, if you want a way to upgrade your gaming rig on a budget, you could try making a gaming mouse mat.
This guide will show you exactly how to make your own mouse pad.

Key Characteristics of Gaming Mouse Pads
Before we dig into the nitty gritty of how to make your own mouse pad for gaming, let’s look at a few key factors that separate gaming pads from the rest:
- Size: Size-wise, gaming mouse pads tend to be a little larger than standard. Some even stretch across the entire width of a desk, giving gamers all the space they need to move their digital characters or position in-game cameras with precision.
- Non-slip: A slipper mouse pad can wreck your gaming experience. Picture the scene: you’re just about to deliver the killing blow to a big boss, and your mouse slips, causing you to lose a life. That’s why any good gamer mouse pad requires a non-slip base.
- Decorative: Gamers often take pride in their gaming rigs, appreciating fun, stylish designs that reflect their personality. Maybe you want a pad with your favorite “Overwatch” character on, for example, or one with a colorful tribal pattern.
How to Make Your Own Mouse Pad
We’ve seen the key elements of gamer’s mouse mats, but how do you actually make one of these things? Well, it’s not as easy as just buying one, but it’s not as tricky as you might imagine, either. Let’s break it all down into four key steps.
Step 1: Gathering the Supplies
Before you start designing, cutting, gluing, or anything like that, you’ll need to get some stuff together. Here’s all you need to make your own mouse pad.
- Some cardboard
- Non-slip liner
- Foam padding
- Material for the top layer – this could be standard paper, photo paper, or even fabric
- Contact paper
- Glue
- Scissors
- A paintbrush

Step 2: Building the Base
When it comes to how to make your own mouse pad, it’s usually best to start with the base and build up from there. Bases are quick and easy to build, and you can let them dry while you focus on the top layer.
- Take your cardboard — opt for flat over corrugated — and cut it to the right size. Remember, gaming pads are often a little bigger, but it all depends on your desk size and gaming style.
- Attach some non-slip liner underneath to give your pad that all-important non-stick base. Just cut out the right size of liner and stick it on.
- Cut a piece of foam padding to the same size as your card base, and then stick the two layers together. Not got foam? Cork will work, too.
Step 3: Designing the Top Layer
Here’s the fun part. This is where you can start getting creative as you make your own mouse pad, designing the stylish top layer you can admire every time you sit down to game. And there are lots of options to experiment with, from simple blocks of color to intricate, detailed images.
- Want to keep things simple? Just find a photo or image online and print it off.
- Or, for something even easier, head to a DIY store or thrift store and find some funky patterned wallpaper to use as your top layer.
- Prefer something a little more detailed and original? In that case, it’s time to open up your favorite design app and start drawing.
- Make sure to pick an appropriate material to match your design – photo paper for photos, for example.
- And don’t forget to ensure that your design is the right size and orientation as your pad. Otherwise, it might look a little odd.

Step 4: Adding the Top Layer
After picking or designing your top layer, the last phase is to print or prepare it and stick it to the base you made earlier.
- Print your design, then cut it to size.
- Using a paintbrush and glue, or some other adhesive, stick the base and top together.
- Place a sheet of contact paper over the top – this is what you’ll run your mouse over.
- Smooth out any air bubbles beneath the contact paper.
A Simpler Option: Choose MousePads Now to Make Your Own Mouse Pad
As you can see, it’s not that hard to make your own mouse pad. But it still requires a certain level of effort and time. Want an even faster and much simpler option? Just head to MousePads Now, where you can start creating your own custom gaming mouse pads in no time at all.
MousePads Now is a custom mousepad-making site – in just a few easy steps, users can make stylish, top quality pads for gaming and all their other needs. You make your design online, all from the comfort of your own home, and MousePads Now does the hard part, printing and piecing it together.
- Complete Customization: MousePads Now gives you absolute freedom – design the gaming mouse pad of your dreams.
- Various Shapes and Sizes: Select from a wide range of shapes and sizes to suit your gaming needs.
- Quality Materials: Every single one of our custom mouse pads are made from the finest materials, offering durability at affordable prices.
If you like the idea of making your own gaming mouse pad, but want to skip the hassle, choose MousePads Now. Head over to the site and start making your design to get a great gaming pad delivered to your door in a matter of days.